Gate automation By Antoh Decor Enterprises 4 min read
Key points
- A gate motor can only work well on a gate that already slides freely by hand on a level track with good wheels and top guides.
- The motor base must be level and solid; the rack must be aligned with an even gap to the motor gear along the full length.
- Infrared safety beams, correct limit settings and a backup battery are essential, not optional extras.
- Antoh Decor’s technicians install racks, motors and sensors and provide after-sales support.
When a gate motor strains, stops halfway or wears out early, the cause is usually the installation rather than the motor. Use this sliding gate motor installation checklist whether you are a fundi installing for a client or a homeowner checking the work.
Before installation: the gate
- The gate slides freely by hand along its full length. If it is hard to push by hand, a motor will struggle too.
- The ground track is level and straight, firmly fixed and clear of stones.
- Wheels are in good condition and turn smoothly.
- Top roller guides keep the gate upright without binding.
- End stops are fitted at both ends so the gate cannot run off the track.
- Power supply is available near the motor position, with proper earthing and protection.
During installation
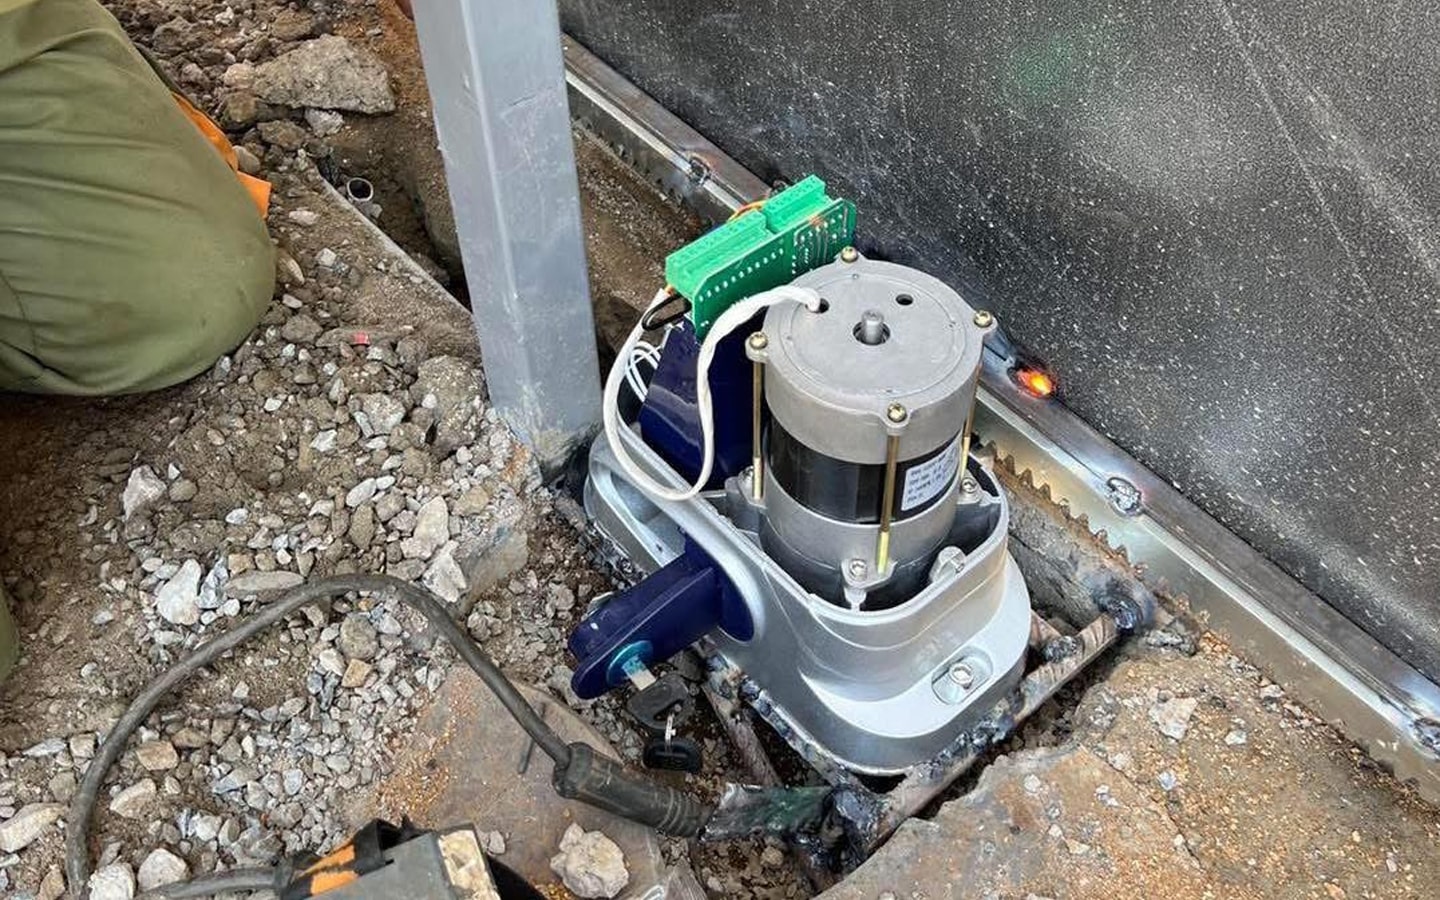
- Motor base: a level, solid concrete plinth or base plate, at the right height and distance from the gate.
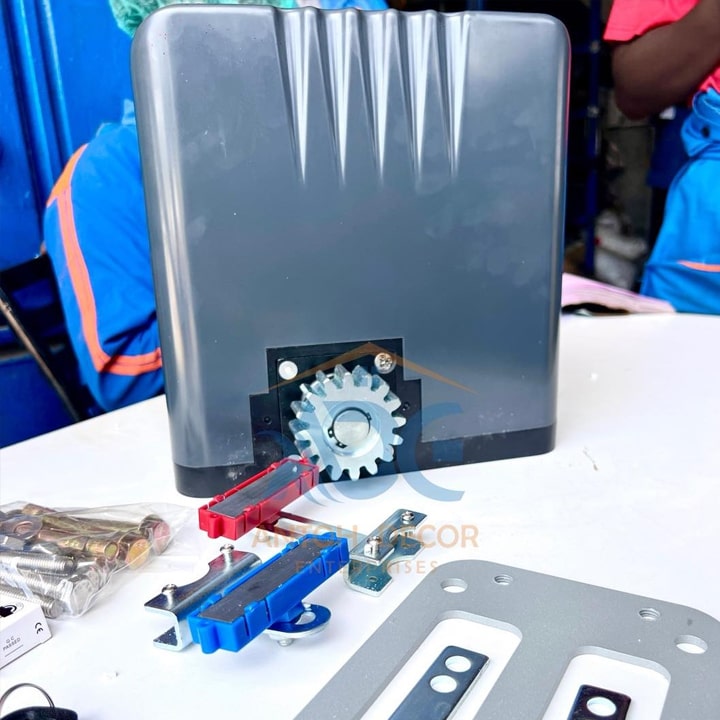
- Rack: steel or nylon rack fixed along the gate. It must be aligned with the motor gear along its whole length, with a small, even gap so the gate’s weight does not rest on the gear.
- Limit settings: the open and closed positions are set so the gate stops in the right place every time.
- Force / obstacle sensitivity: set so the motor stops or reverses if the gate meets resistance.
- Safety beams: infrared beams across the opening so the gate will not close on a car, child or pet.
- Backup battery: connected and charged, so the gate works during power cuts.
- Remotes: coded and tested from inside the car at the usual distance.
After installation: test
- Run the gate open and closed several times. It should be smooth and quiet.
- Break the safety beam while the gate is closing; it must stop or reverse.
- Switch off mains power and operate on battery.
- Check the manual release key works, and keep it somewhere safe.
Maintenance
Keep the track clean, check rack fixings and alignment, clean the safety beam lenses, and have the battery checked periodically. Batteries do not last forever and are the most common cause of failure during blackouts.
Common installation mistakes
| Mistake | What happens |
|---|---|
| Motor fitted to a stiff gate | The motor strains, overheats and fails early |
| Rack resting on the gear | The gate’s weight wears the gear and motor bearings |
| Rack joints not aligned | The gate jerks or stops at the same point every time |
| No safety beams | Risk of the gate closing on a car, child or pet |
| Motor base not level | Uneven gear contact and noisy running |
| Cables not protected | Damage from water, rodents or digging |
| No end stops | The gate can run off the track if a limit fails |
For fundis installing for clients
Take a few minutes at handover to show the client how to use the remotes and the manual release, where the battery is, and how to keep the track clean. A client who understands the system calls you for maintenance instead of calling you about a "broken" gate that only needed the track swept.
Still choosing a motor? Read how to choose a sliding gate motor. To book installation, see smart gate automation and sliding gate motor installation.
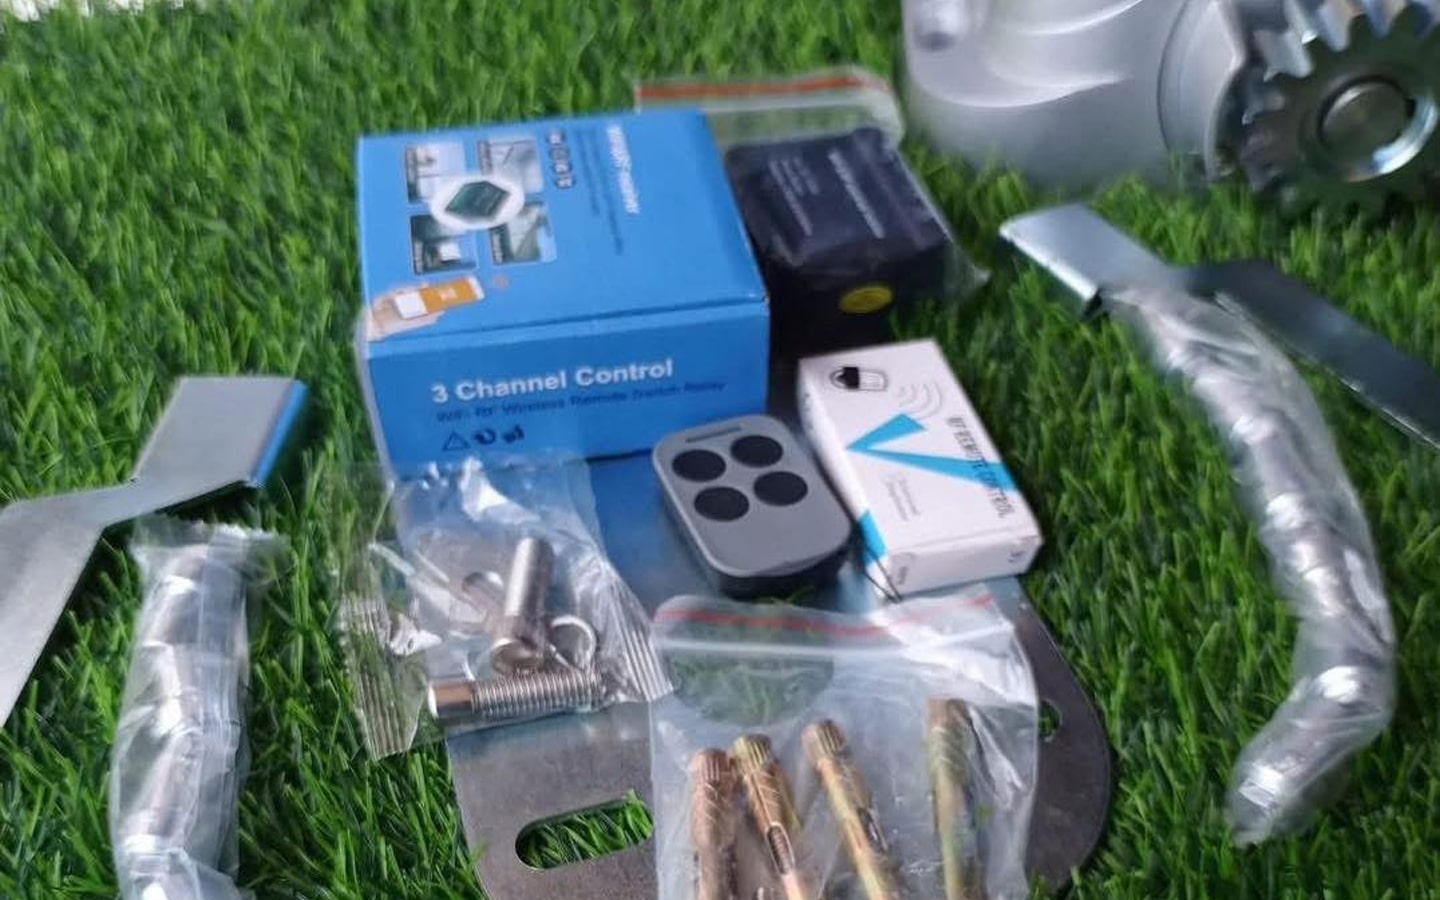
Products & services in this guide
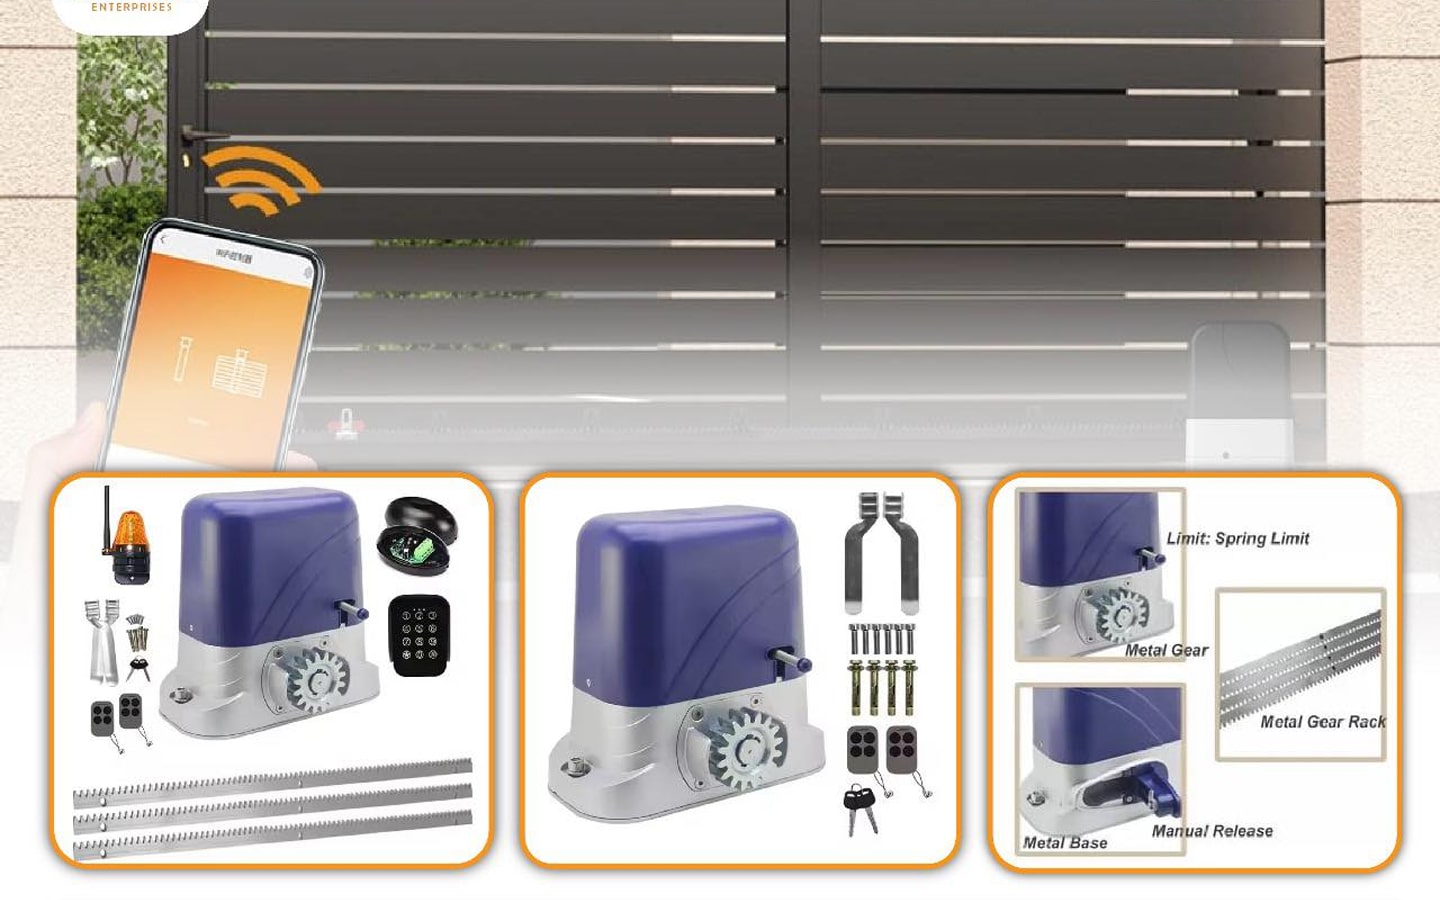
Automatic Sliding Gate Motors
Smart Gate Automation & Sliding Gate Motor Installation
Security. Convenience. Modern Control. Upgrade your property’s security and say goodbye to the hassle of manual gates. At Antoh Decor Enterprises, we…
View details about Smart Gate Automation & Sliding Gate Motor Installation
Window & Sliding Gate Hardware
Sliding Gate Roller Guides (With & Without Plates)
Keep sliding gates aligned and running smoothly with high-quality gate roller guides, available with plates and without plates.
With plateWithout plate
Price on request · wholesale & retail
Frequently asked questions
Why does my sliding gate motor stop halfway?
Common causes are a gate that is too stiff (track, wheels or guides), a misaligned rack, an obstacle sensitivity set too low, or a weak battery.
Are safety beams necessary on an automatic gate?
Yes. Infrared safety beams stop the gate closing on vehicles, children or pets.
Will my automatic gate work during a blackout?
Yes, if it has a backup battery in good condition.
Steel or nylon rack: which is better?
Nylon racks are quieter and suit lighter gates; steel racks suit heavier gates. Your installer will advise for your gate weight.
Do you offer after-sales support?
Yes, we provide maintenance advice and support after installation.